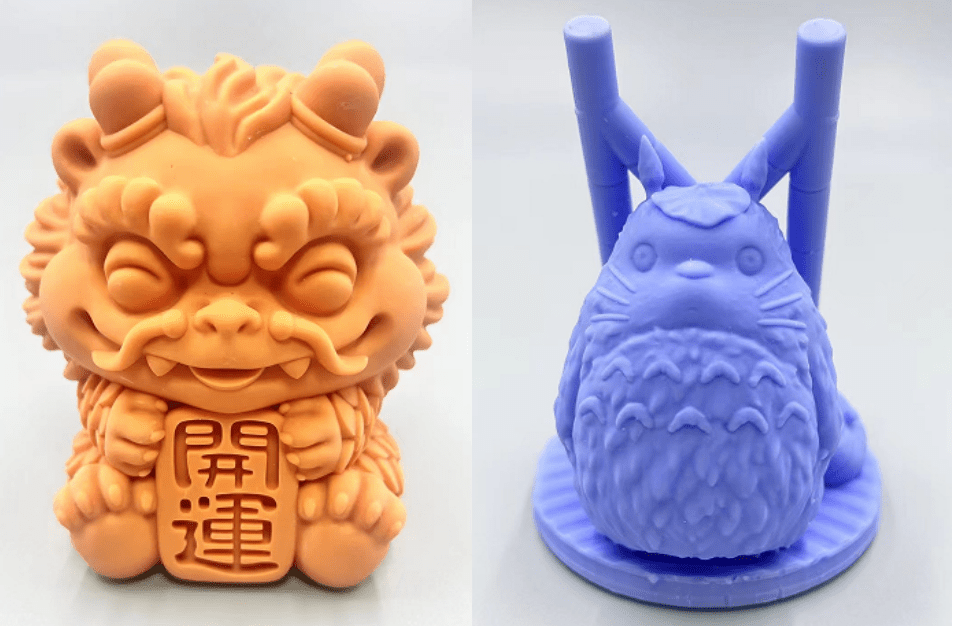
1. Design Model
– Create a fundamental blueprint for the shape and structure of every layer in the 3D printing process.
2. Programming
– After the design is complete, a support structure must be added to the bottom of the model to ensure stability during the printing process. The model is typically placed at a 45° angle. When programming, follow the principle of complex surfaces facing up and be aware of the “cup-like” effect.
3. Slicing
– After the code is error-free, the model needs to be converted into a series of horizontal slices for subsequent printing.
4. Prepare for printing
– Import the sliced data into the 3D printer control software and select key parameters such as printing material type, precision, and support structure.
5. Print
– During the printing process, the print head follows the slicing image to heat or solidify the printing material layer by layer.
6. Remove the support structure.
– The supporting structure is often made of soluble or easily peelable materials that can be easily removed by means of shear, peeling tools, or water immersion.
7. Surface Treatment
– Sand, polish, or paint the printed object to enhance its smoothness, appearance, and feel, making the product more in line with design requirements.
8. Inspection and Testing
– A thorough inspection and testing of the completed object is carried out to ensure that it meets the expected standards of size accuracy and functionality.


